 It looks like this copper trend is here to stay, and I’m not complaining! I, Holly, love decorating with copper accents, so when I walked by copper coated aluminum sheets at the hardware store, I immediately knew what to do. Did you know Mod Podge Photo Transfer Medium works on metal too?! Well, it does, and the final product is fantastic.
(see more photo transfer projects here!)
Using any of your favorite laser printed photos, you can create unique metal photo transfer art. It requires very little effort and produces metal photo transfer art that’s perfect for displaying in your home or even giving as gifts.
DIY Metal Photo Transfer Art
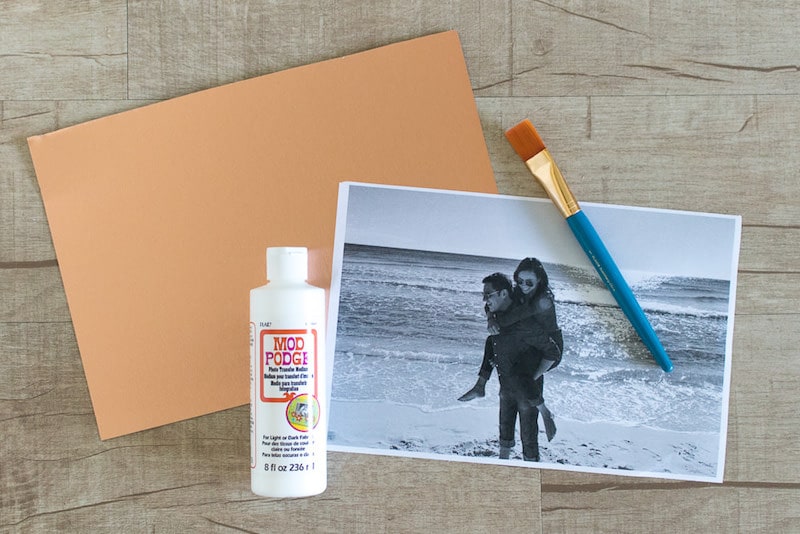
Gather These Supplies
- Sheet metal, cut to size
- Laser printed photo in desired size, color or greyscale
- Mod Podge Photo Transfer Medium
- Paint brush
First, a note about sheet metal. You can purchase sheets of aluminum at most hardware stores – in this case, I purchased one with a copper coating – and they can most likely cut it to your desired size for you. Otherwise, you can cut it to size using a jigsaw or similar machinery at home, but do so very carefully and according to machine instructions.
Also note, Mod Podge Photo Transfer Medium is unique in that it keeps the white portions of images white. Similar brands may be clear, which means any white sections of your photos will take on the color of the background metal.
 Step 1: Cut the photo print to size so that no border remains (unless that’s what you want).
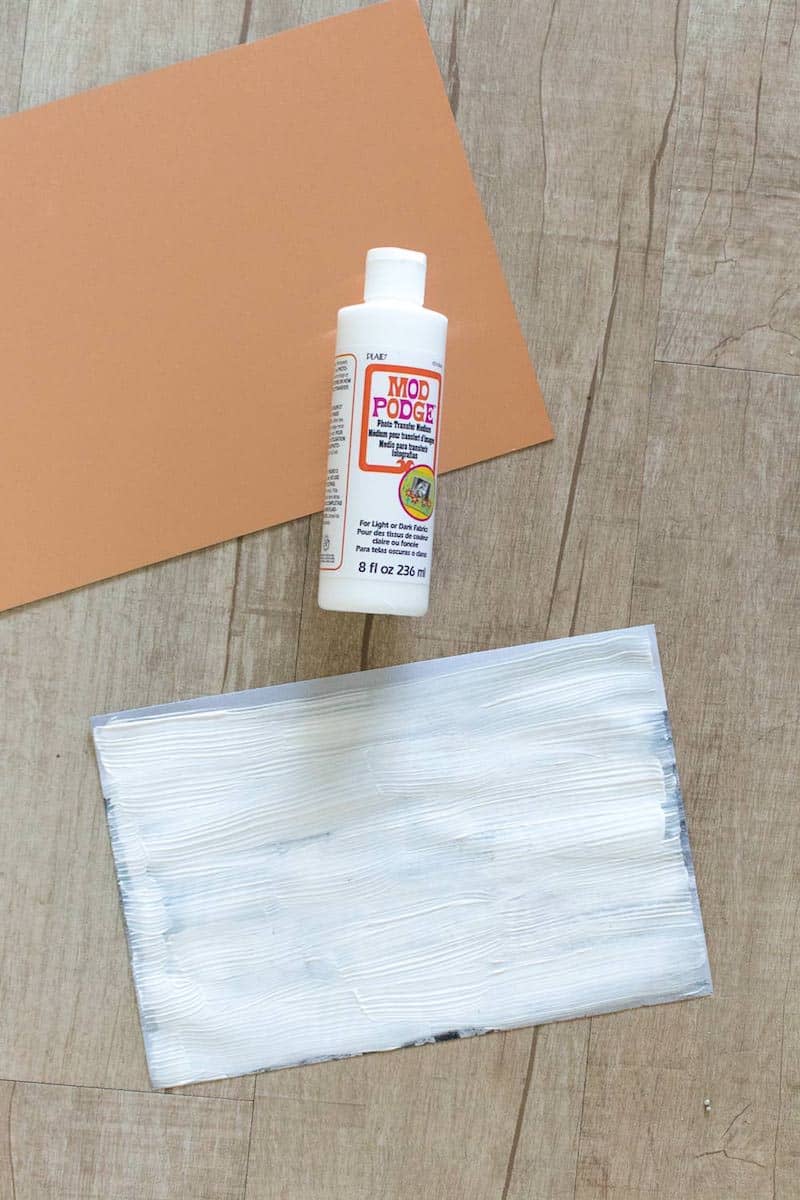 Step 2: Use the paint brush to spread on a thick layer of Mod Podge Photo Transfer Medium on the image side of the paper. It should be even and entirely cover the image so that you can no longer see it.
 Step 3: Immediately place the image down on the sheet metal and use your hands to smooth out the paper and remove any air bubbles. You don’t want to press so hard that the medium seeps out the sides but just enough that it is completely adhered to the metal and no bubbles remain.
Set aside to dry overnight. Depending on the temperature and humidity, it will be ready within 24 hours.
Step 4: Once completely dry and hard to the touch, use your fingers to add a little water to one corner of the paper. Press lightly and move your fingers in a circular motion to remove the layer of paper. Go slowly so that you don’t accidentally remove the image. Continue all over the paper with wet hands until all of the paper has been removed.
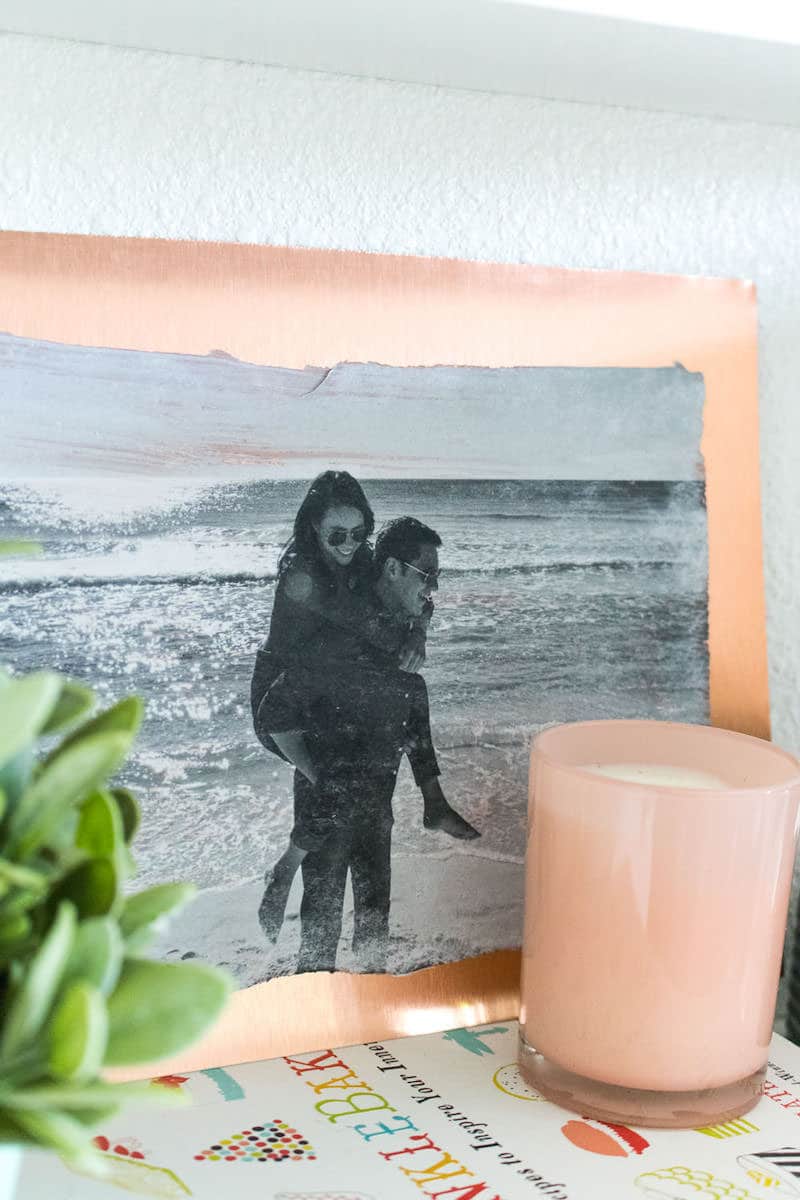 Step 5: Set aside to dry for about 10 minutes. If a white layer dries over the image, you didn’t remove enough paper and will need to repeat the last step.
 Set the final metal photo transfer on a shelf, mount on a wall or wrap as a gift!
If you need image transfer tips, just click the image below:

The post DIY copper metal photo transfer art appeared first on Mod Podge Rocks.


