 Hi, it's David from Cheltenham Road with a quick tutorial on my favorite thing to do: a photo transfer to wood with Mod Podge Photo Transfer Medium. This medium is easy to use and creates terrific results. In fact, I'll show you how to transfer photos to wood in three simple steps! Any painting is an additional step if you choose to do so . . . the photo transfer itself is simple as can be.
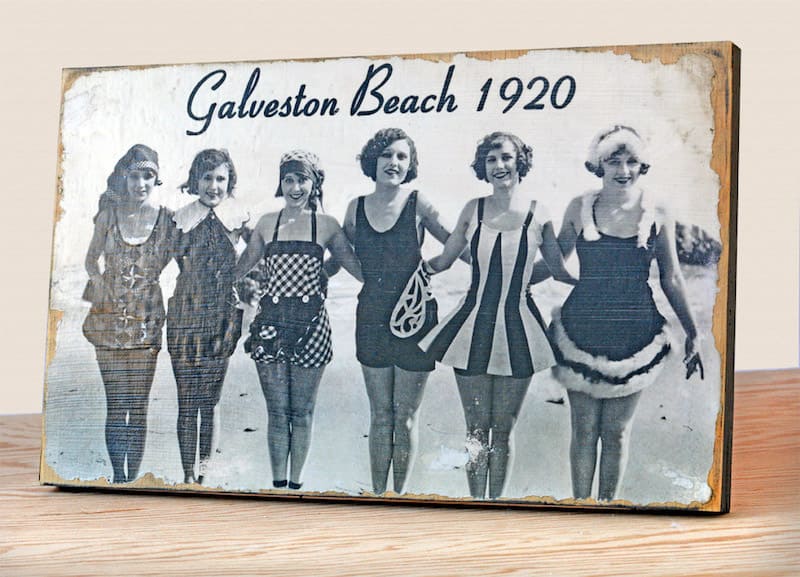
If you follow my blog you know I'm all about vintage graphics, so I thought I'd use one of my favorite images and just do a simple transfer to a piece of everyday plywood. Learn how to transfer photos to wood the easy way below!
(get more craft ideas using Mod Podge Photo Transfer Medium!)
How to Transfer Photos to Wood
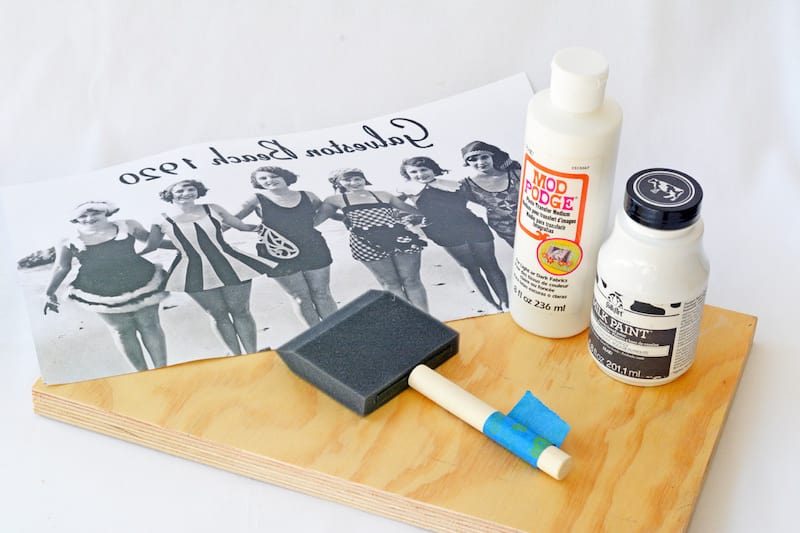 Here's what I used for this Mod Podge wood transfer:
- 1/4″ plywood cut to 13 x 8
- Mod Podge Photo Transfer Medium
- Matte Mod Podge
- Folk Art Milk Paint: Plymouth Rock
- Foam Brush
- Damp rag
- Image printed on regular paper using a laser printer or photocopier
- Sharp craft knife
- Brayer (useful but not absolutely necessary)
- Silicone craft mat (useful but not absolutely necessary)
I started off with just a quick coat of the Milk Paint on the edges of the plywood. It dries super fast, so while it was drying I worked on my picture (painting is optional).
Since the photo has text, I reversed the image before printing it onto plain paper using my laser printer. Laser prints work as well as DRY ink toner prints (like HP ink). You may have to do some research or experiment to see if your printer has dry ink.
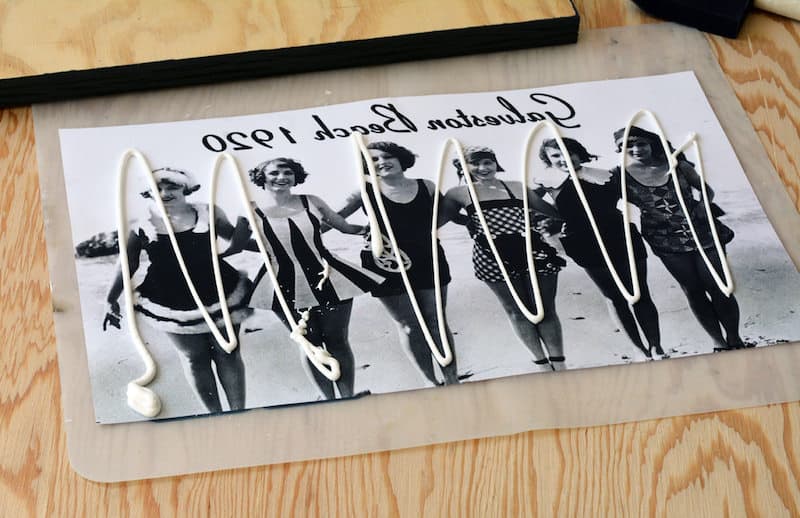 For step one, I squeezed out a generous amount of the Transfer Medium onto the image . . .
TIP: I laid everything on my Mod Podge Silicone Matt which is great for this – you can use wax paper if you'd like but make sure to protect your work surface.
 . . . . and, using my foam brush, spread it out until the picture was mostly obscured.
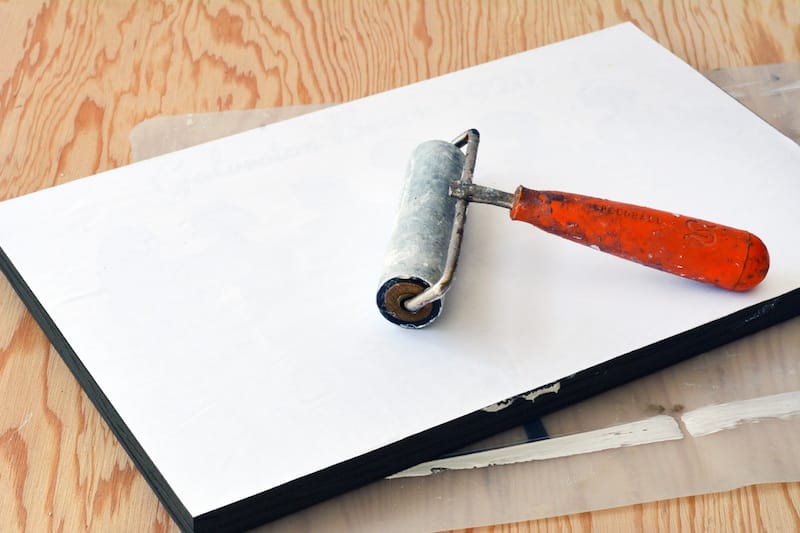 For the second step, I laid the picture (image side down) onto the plywood and smoothed out any air bubbles using my fingers and the brayer (the brayer is great but if you don't have one use a rolling pin, a glass bottle, etc).
Make sure to keep a damp rag nearby to clean up any oozy extra transfer medium (like you see on the bottom edge of the plywood in the picture) as when it dries it dries pretty hard and it tough to get rid of.
And now the hard part: patience. I set the whole thing aside for 24 hours to dry.
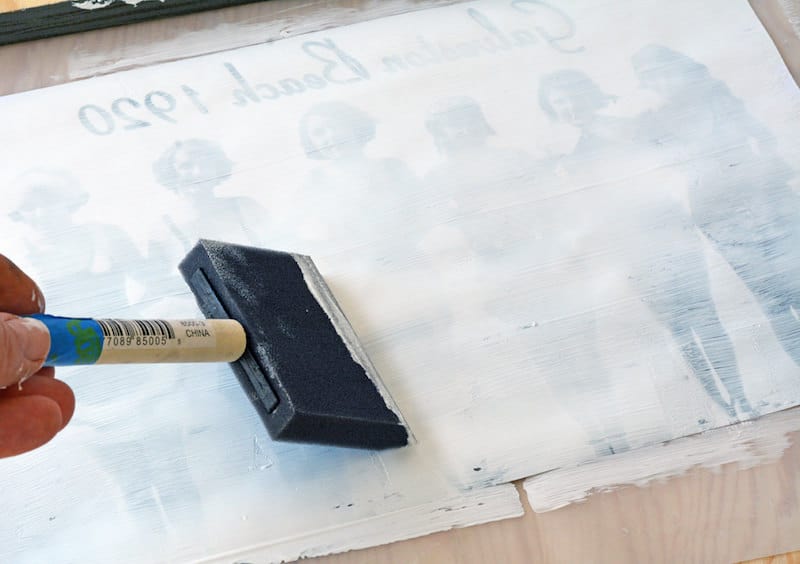
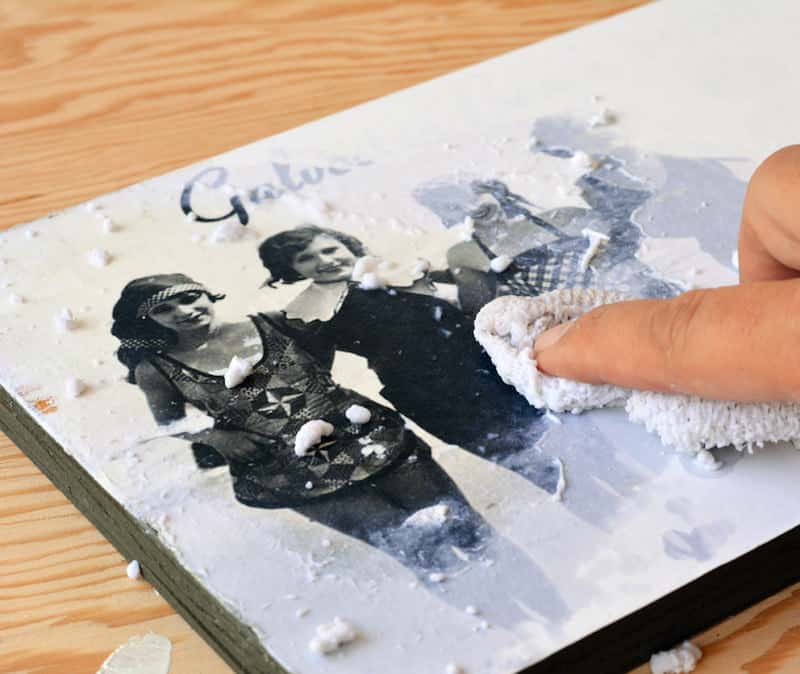 Once it dried I used a damp cloth to gently rub away the paper, revealing the picture (this is the third step!).
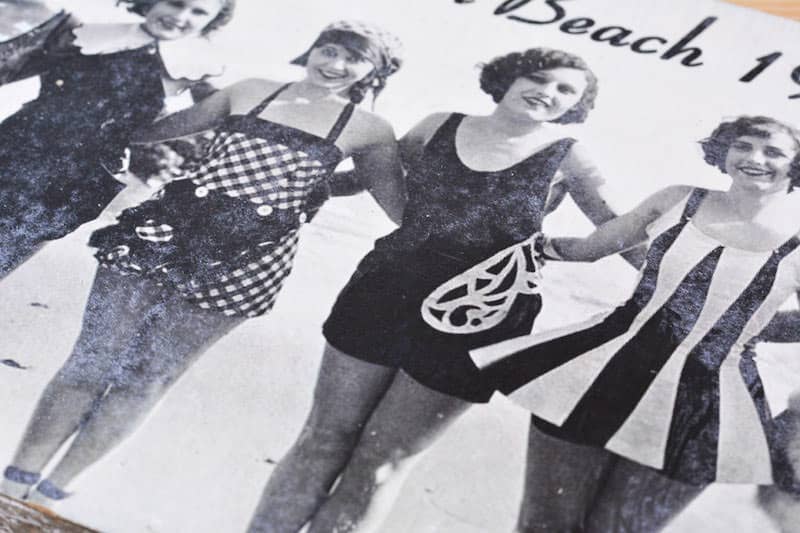 After removing that top layer, I let it dry a little and then did it again to catch any spots I missed or left-over paper fuzz. It's better to rub gently and repeat the wetting process than to rub too hard and rub the image away.
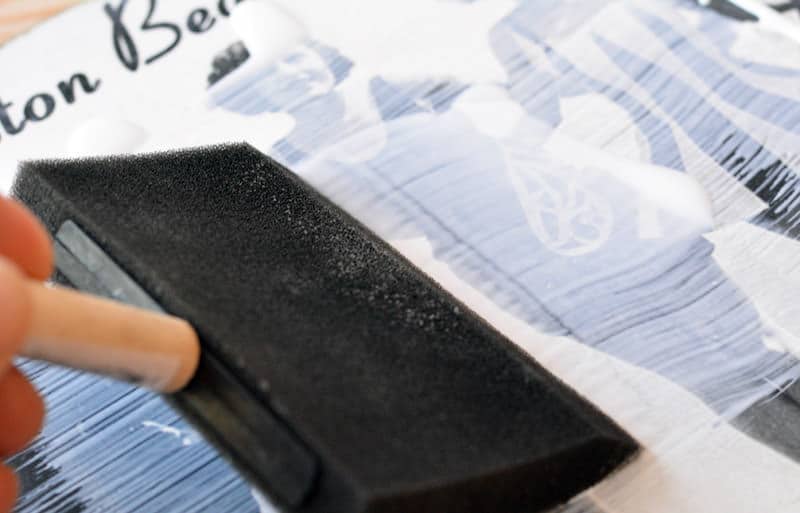 I wanted a very vintage/beat up feel so I went in with my sander and sanded away the edges of the graphic revealing the plywood and once I was happy with the look I sealed the whole thing with two coats of Mod Podge Matte.
Now you know how to transfer photos to wood! Easy, sorta quick (if you don't count the passive drying time) and inexpensive wall art!
 TIP: I've worked with Mod Podge Photo Transfer Medium a lot, but if you're new to it do a little tester piece before tackling a big project. And please check out the extremely useful list of tips that Amy has compiled for working with Transfer Medium here.
Happy Crafting!
The post How to transfer photos to wood appeared first on Mod Podge Rocks.