 Hey there! This is Holly from Club Crafted, and I’m excited to share a fun way to make your own graphic DIY hair pins in any short saying with any colors using Mod Melts. I’ve seen this style of hair pin a lot lately, especially ones with cute sayings in a variety of colors, but I prefer to DIY whenever possible so that I can customize things exactly how I want them.
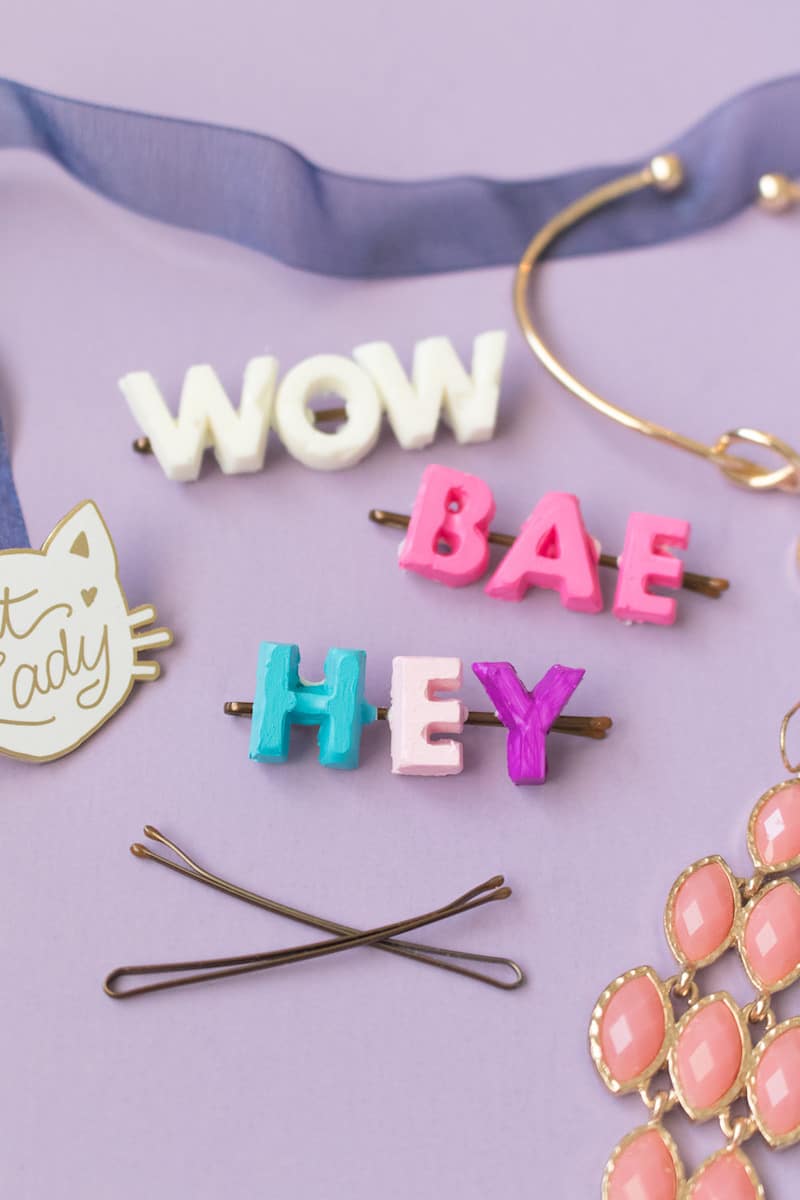
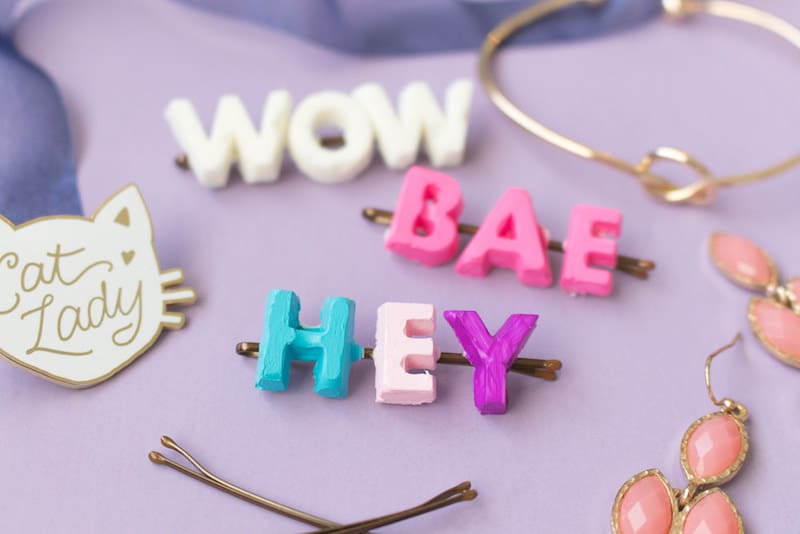
 With Mod Melts and a small alphabet mold, you can choose a few very short words – I used WOW, BAE and HEY – to attach to standard bobby pins and paint in whatever colors you’d like. For an average sized bobby pin, you should limit words to 3 letters, but this DIY could also work with large clips/pins. They’re very easy to make, and I preferred using Mod Melts for this type of project as opposed to something like resin, clay or cement because of the quick dry time. Note, you can use a standard glue gun and glue sticks for this project as well.
![Use Mod Melts and Molds to create your own graphic DIY hair pins! Make them with the sayings and paint colors of your choice. SO easy.]() Graphic DIY Hair Pins
Graphic DIY Hair Pins
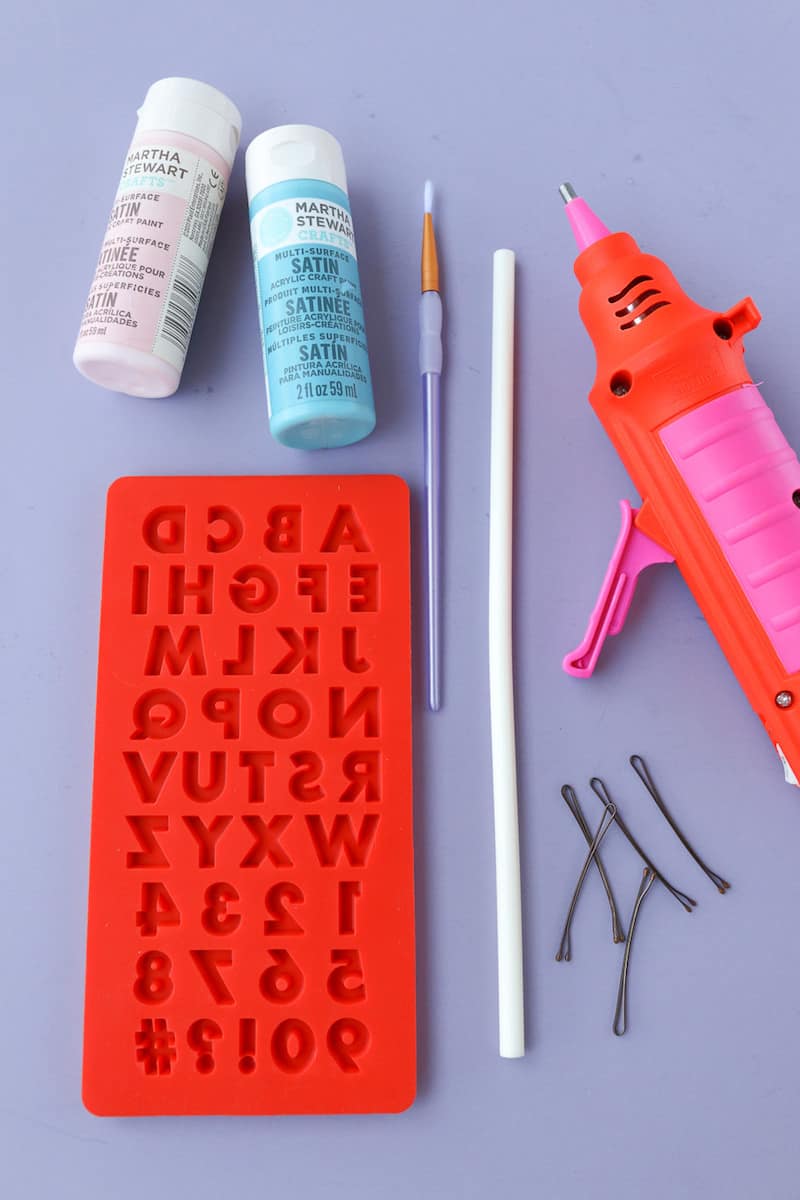
Supplies:
- Mod Melts, white or other desired color
- Mod Melts gun
- Mod Melts small alphabet mold (letters about .5 inches tall)
- Bobby Pins
- Paint and small paintbrushes (optional)
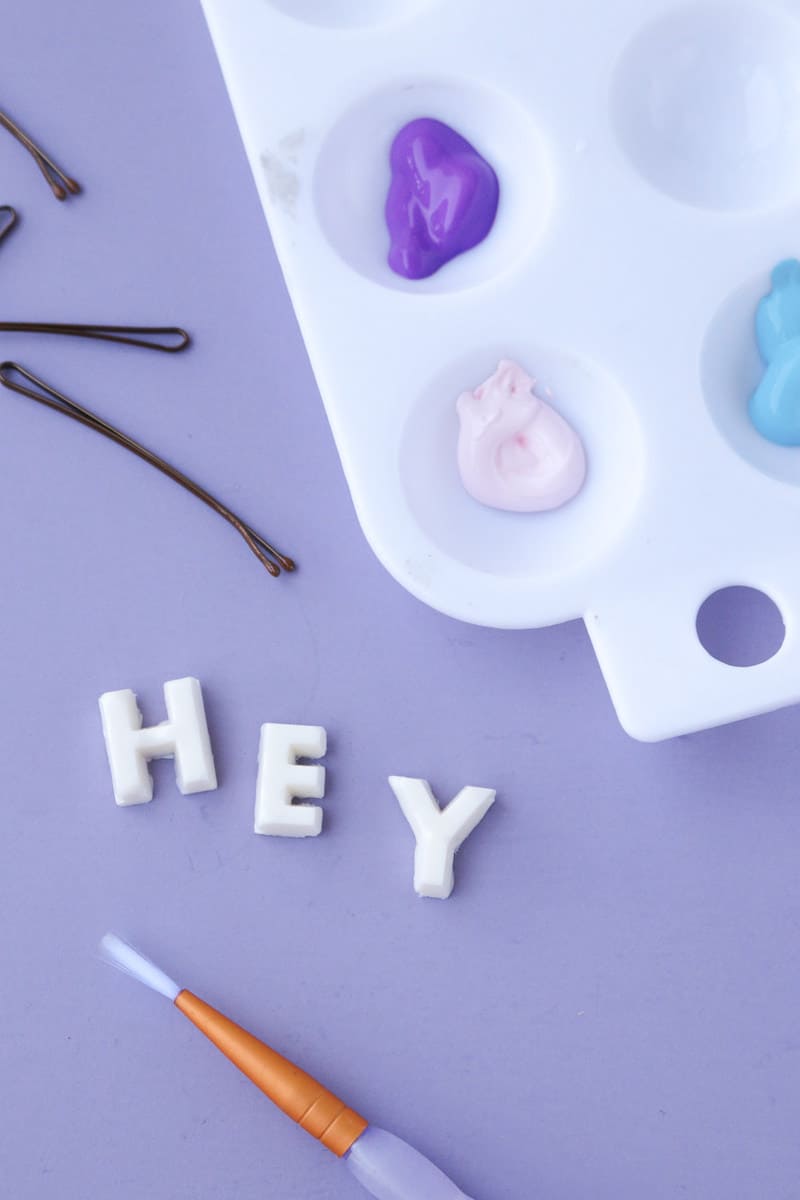
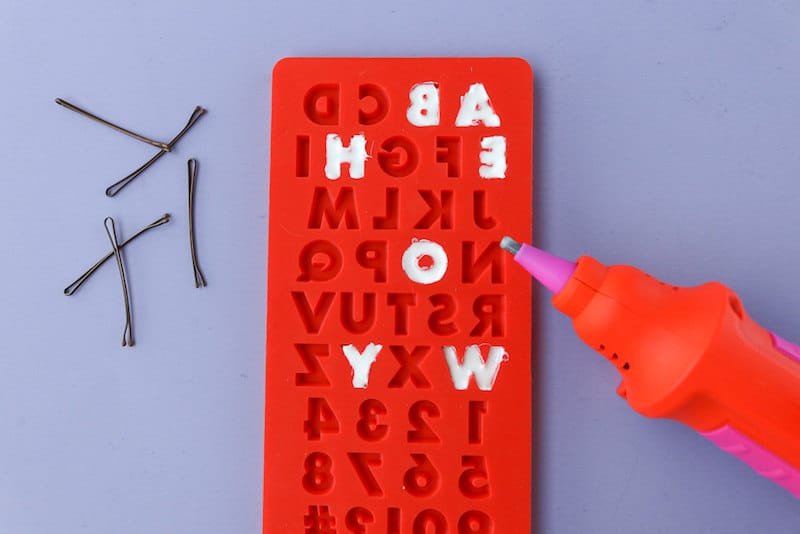 Step 1: Make sure the mold is clean and heat up the Mod Melts gun with a white glue stick. You can use other colors, especially if you want to skip the painting step.
Step 2: Once hot, carefully squeeze the lever to fill the desired letters with glue. Work carefully to ensure the entire mold is filled, and don’t stress if some glue ends up outside of the letter mold. Let dry for about 5 minutes.
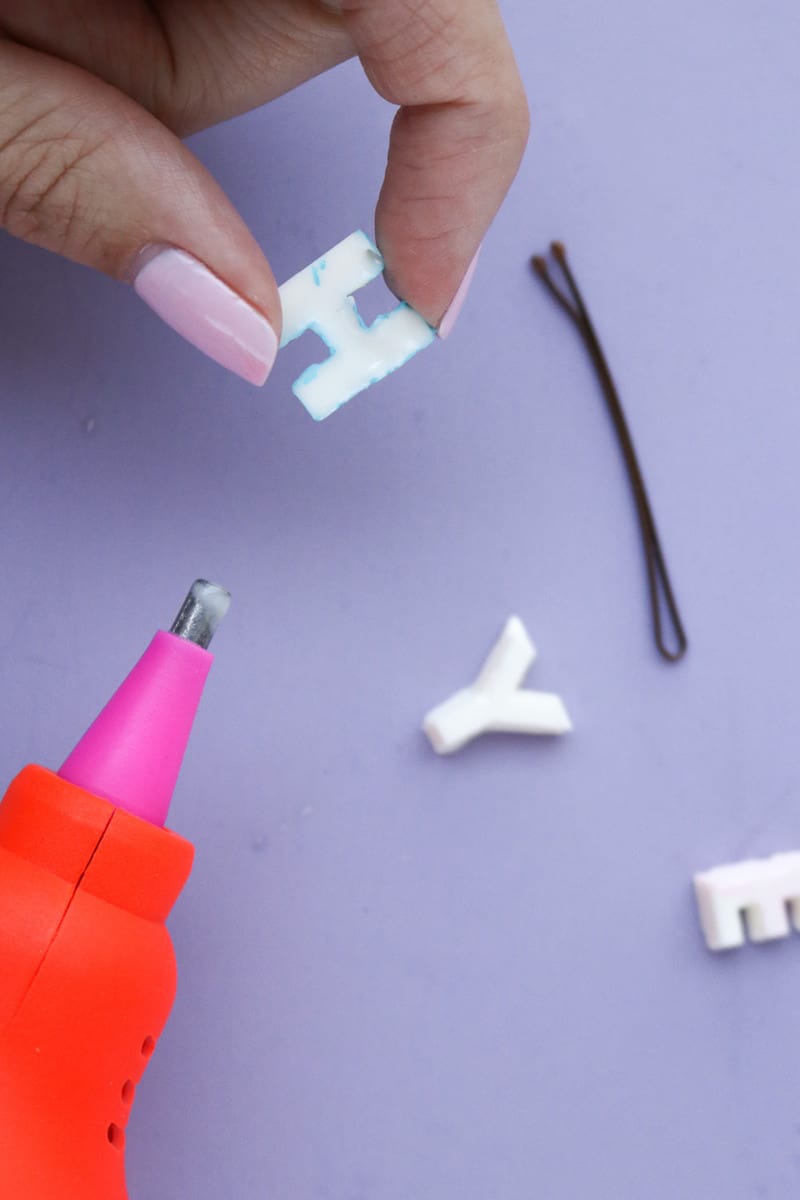
 Step 3: Remove the letters from the mold and use a pair of scissors to very carefully cut away uneven sides or loose glue. Because the glue is soft, it cuts easily. Once the letters are removed, you can continue filling the mold if you need to make more letters.
Step 4: Paint letters in desired colors, let dry and paint a second coat for best results. If you do not want to change the color of the glue, skip this step.
 Step 5: Once the paint has dried and all letters are prepared, open the bobby pins and attach to the side of the mold with the flat side facing up. This step is important to ensure the top and bottom of the bobby pin are separated by the silicone mold.
Step 6: Use the Mod Melts gun to attach the backs of the letters to the tops of the bobby pins, making sure the letters are facing the correct direction you would insert the pins into your hair. (After all, you want to be able to read it.) Then let dry before removing the pins from the edge.
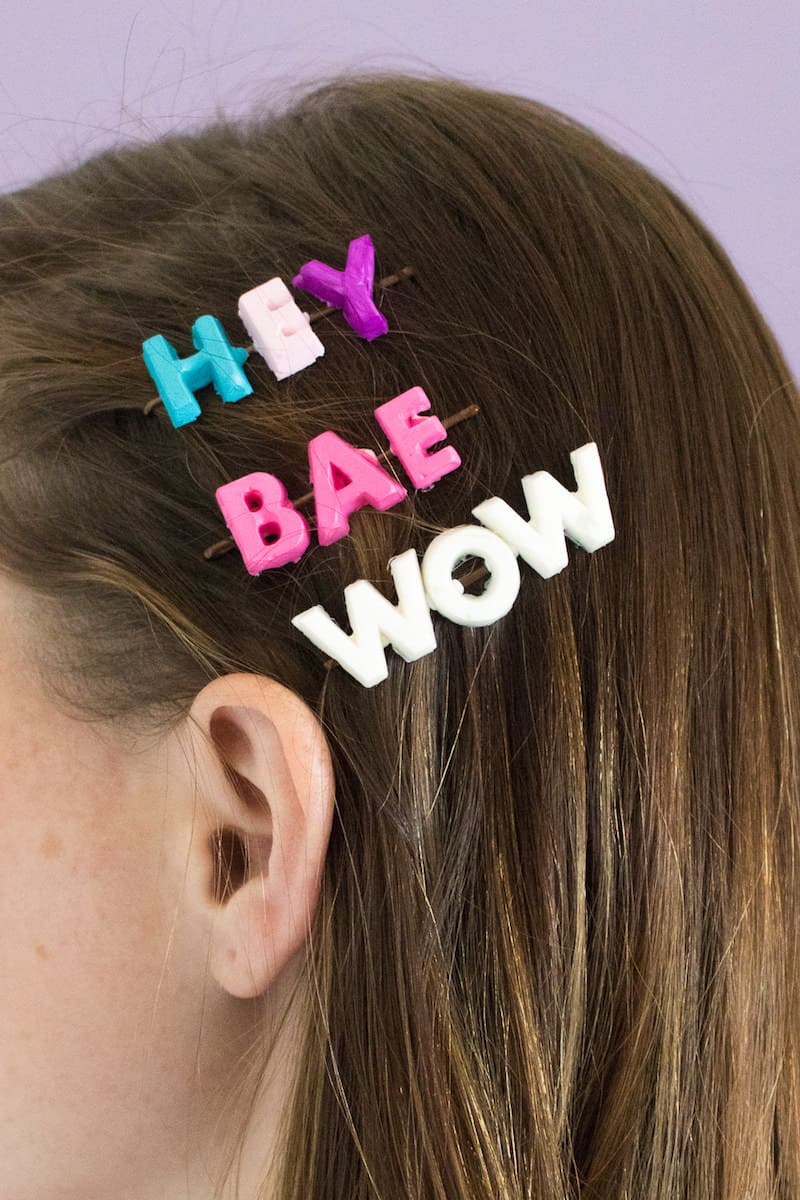
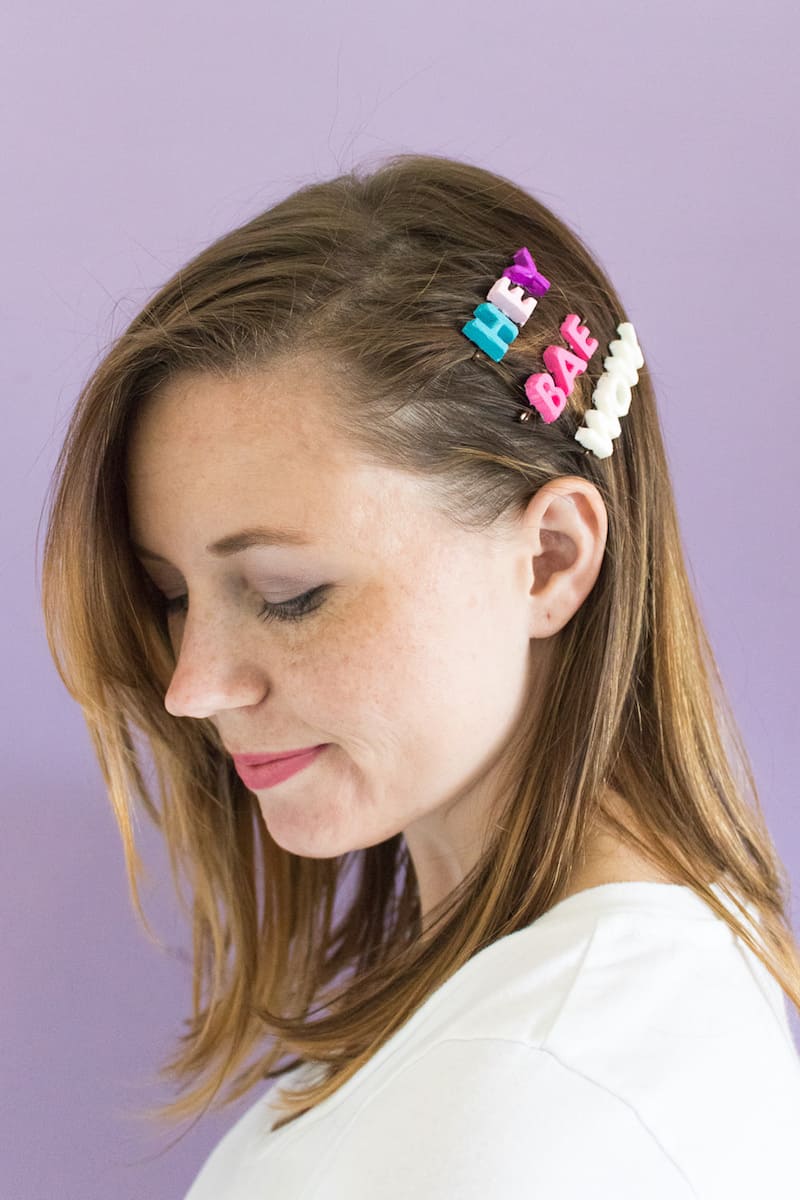 Carefully insert the DIY hair pins in your hair (beware, the glue can potentially pull at your hair!) and have fun with your unique sayings!
Don't forget to visit me at Club Crafted – and follow me on Facebook, Pinterest, Twitter, and Instagram.
The post Graphic Mod Melt DIY hair pins appeared first on Mod Podge Rocks.