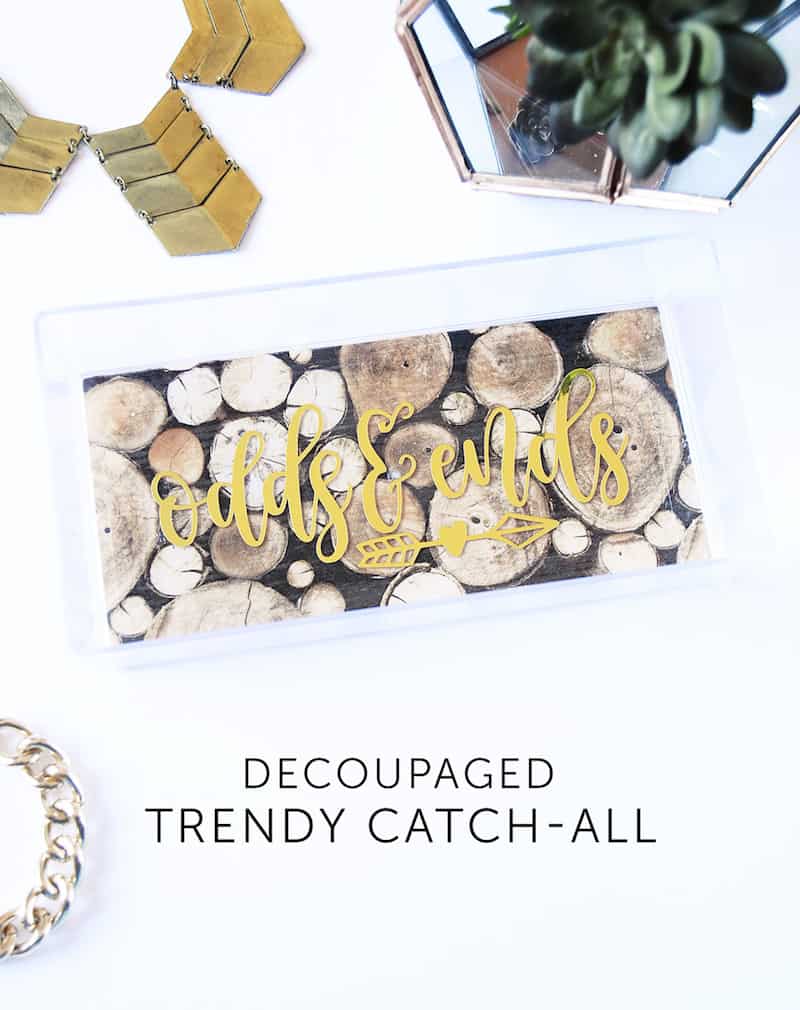
 It's officially Spring! And with that comes some spring cleaning – I tend to organize more around the start of the year, but I just couldn't pass up making this decoupaged trendy acrylic catchall tray for my bedside. Learn how to create this easy tray with this super fast tutorial!
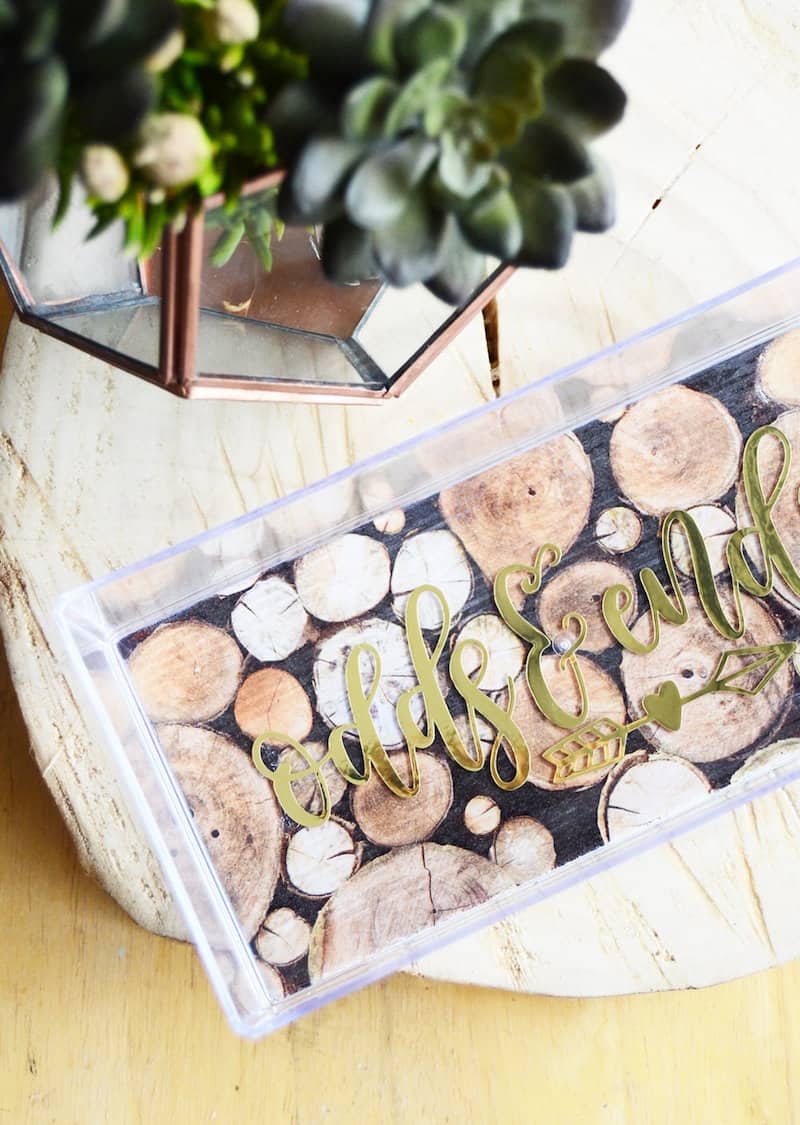
Trendy Acrylic Catchall Tray
Gather These Supplies
- Acrylic Tray (I got mine from the dollar store)
- Scrapbook paper or wrapping paper of choice
- Mod Podge Matte/Hardcoat
- Paintbrush
- Scissors
- Metallic Gold Vinyl or Pre-cut sticker letters
- Transfer Paper
 Step 1. Cut your paper to size. Trace the bottom of your acrylic tray so your paper fits perfectly.
 Step 2. Apply a layer of Mod Podge on the bottom of your catchall tray – I wanted the inside to be smooth so I applied the decoupage on the outside, right side down. After it's adhered, apply a few more layers of Mod Podge to seal your paper and make it sturdy.
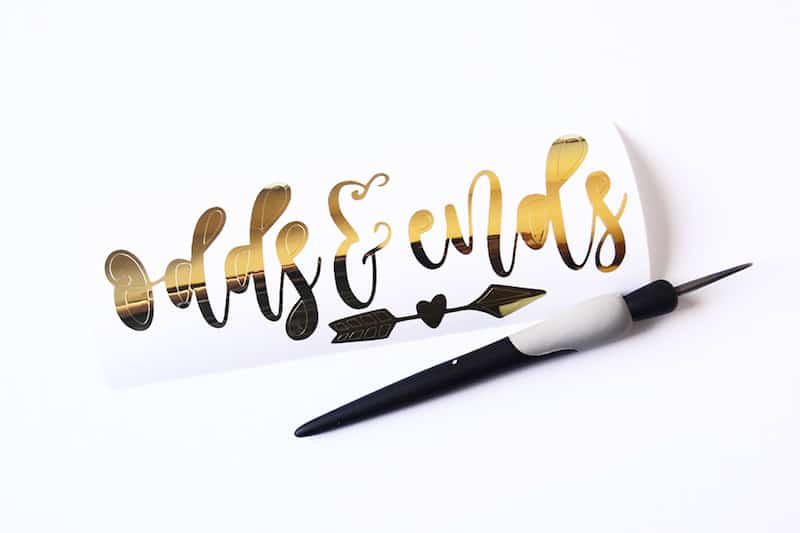 Step 3. Cut and weed your design or lay out pre-cut sticker letters on a sheet of wax paper.
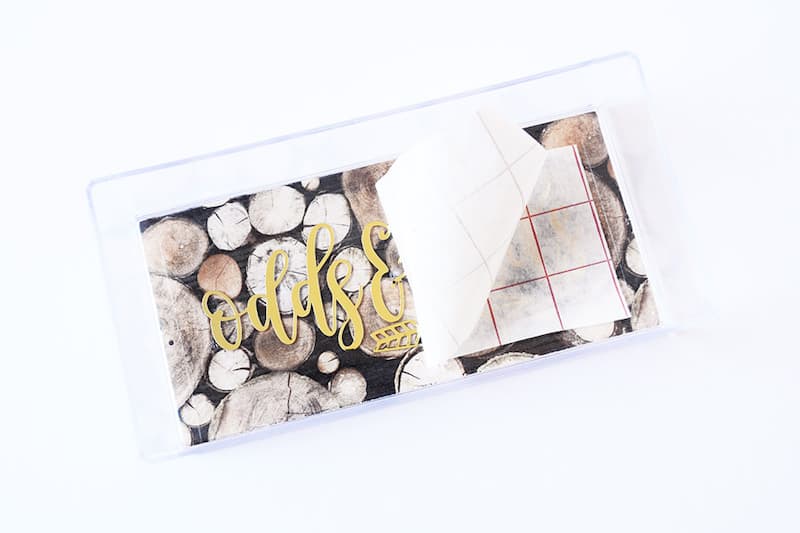 Step 4. Transfer your design on the inside of the tray using transfer paper to line and center the design.
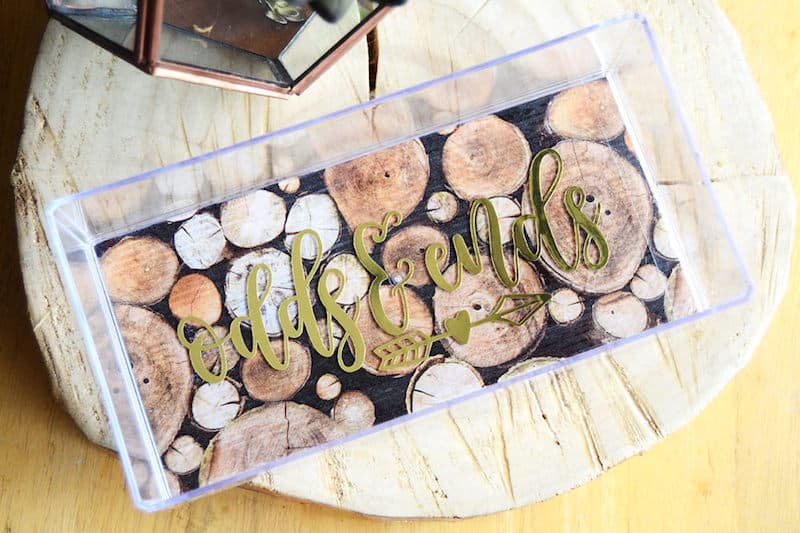 And you are done! Easily personalized your own inexpensive acrylic tray with your custom design, your giftee's name and a mix of patterns and colors to suit your style or your giftee's style. And of course, don't forget to have fun making it!
 What are you excited to organize this Spring? Have fun crafting and don't forget to follow me on social media or my blog for more ideas, freebies and tutorials!
Minted Strawberry Blog | Facebook | Etsy | Pinterest | Instagram | Google+ | Twitter
The post Trendy acrylic DIY catchall tray appeared first on Mod Podge Rocks.