Learn how to glue a puzzle with puzzle glue! My favorite is Mod Podge Puzzle Saver. I’ll show you my process for preserving your puzzles permanently.
Skills Required: None. Even if you’ve never crafted before, you can seal a jigsaw puzzle with Mod Podge. You’ll get the tips and tricks for success below.


Ever since I was little, I’ve been addicted to puzzles. My favorite puzzle when I was young was a white cat. We didn’t even have cats because my dad and one of my brothers were allergic.
I liked that puzzle because the large amount of white area made it a challenge to put together. Some of my favorites were mounted on my wall, and the way I got the pieces to stick together was puzzle glue.
Puzzle Glue
If you’re wondering how to glue a puzzle, it’s REALLY easy to do. My favorite puzzle glue is Mod Podge Puzzle Saver. It comes in two sizes:


The 8-ounce Puzzle Saver on the left is for the serious “puzzle aficionado.” You can do a LOT of puzzles with this bottle, so purchase it if you or your family do them all the time.
The Puzzle Saver package on the right is nice because it comes with a brush. Depending on the size of the puzzle, you can do at least 2 – 3 with this puzzle glue package.
Why Use Puzzle Glue
I’ve been asked this question before since a lot of people break up their puzzles and put them back in the box when they are done – looking forward to getting them out and doing them again.
Of course you can do that, but some people want to preserve their puzzles permanently, typically to hang on the wall.
Once your creation is glued, you can stick it in a frame with or without glass. The puzzle glue makes it so that it will stick together even without glass holding it in.
Another option for mounting your puzzle is on a canvas. I’ve seen people complete a puzzle, use glue to seal it, and then attach it to the canvas and hang.
Framing a Jigsaw Puzzle
If you’re going to frame the puzzle after gluing, I want to give you a few tips. Here’s what you need to do:
- Buy a piece of foam core larger than the puzzle.
- Mount the puzzle to foam core using the Mod Podge. Add a relatively thick layer of Podge to the core and place the puzzle on top. Wipe away any glue that comes out the sides and let dry.
- Once dry, trim away the excess foam core. You can trim exactly to the edge of the puzzle or leave room for a mat.
- Place a mat (if desired) around the edge of the puzzle and frame.
- You can have your piece professionally framed, or buy a frame from the craft store. Add the puzzle to the frame.
Are you ready to learn how to glue a puzzle using Mod Podge Puzzle Saver? Keep reading!
How to Glue a Puzzle
Gather These Supplies
- Finished puzzle
- Mod Podge Puzzle Saver
- Paintbrush if you don’t get the package with the brush
- Wax paper
- #0000 steel wool (optional)


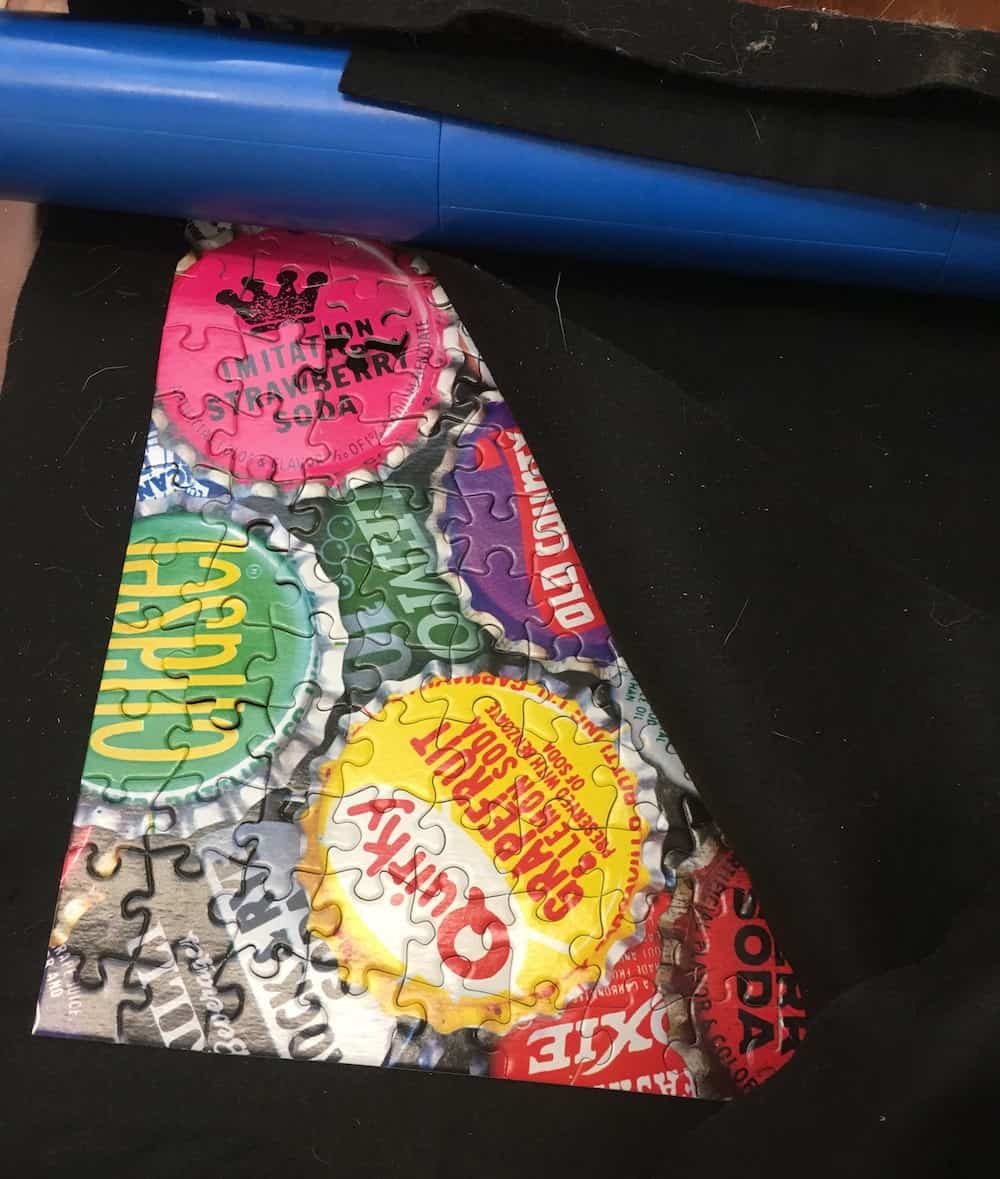
Here’s the puzzle I did for my demonstration. I pretty much love the bottlecaps and colorful nature of this puzzle!

Your first step is to transport your puzzle to an area that you know your work surface is safe. This means you might want to start by doing your puzzle on wax paper in the first place.
I actually use a puzzle roll up mat that is made of felt. This is because I can’t leave my puzzles out all the time – I don’t have a place – so the wax paper isn’t going to work for me.
So when it’s time to preserve a puzzle, I have to be really careful about how I do it! I don’t want to ruin the puzzle mat below when I apply the glue. I’ll show you what I mean.
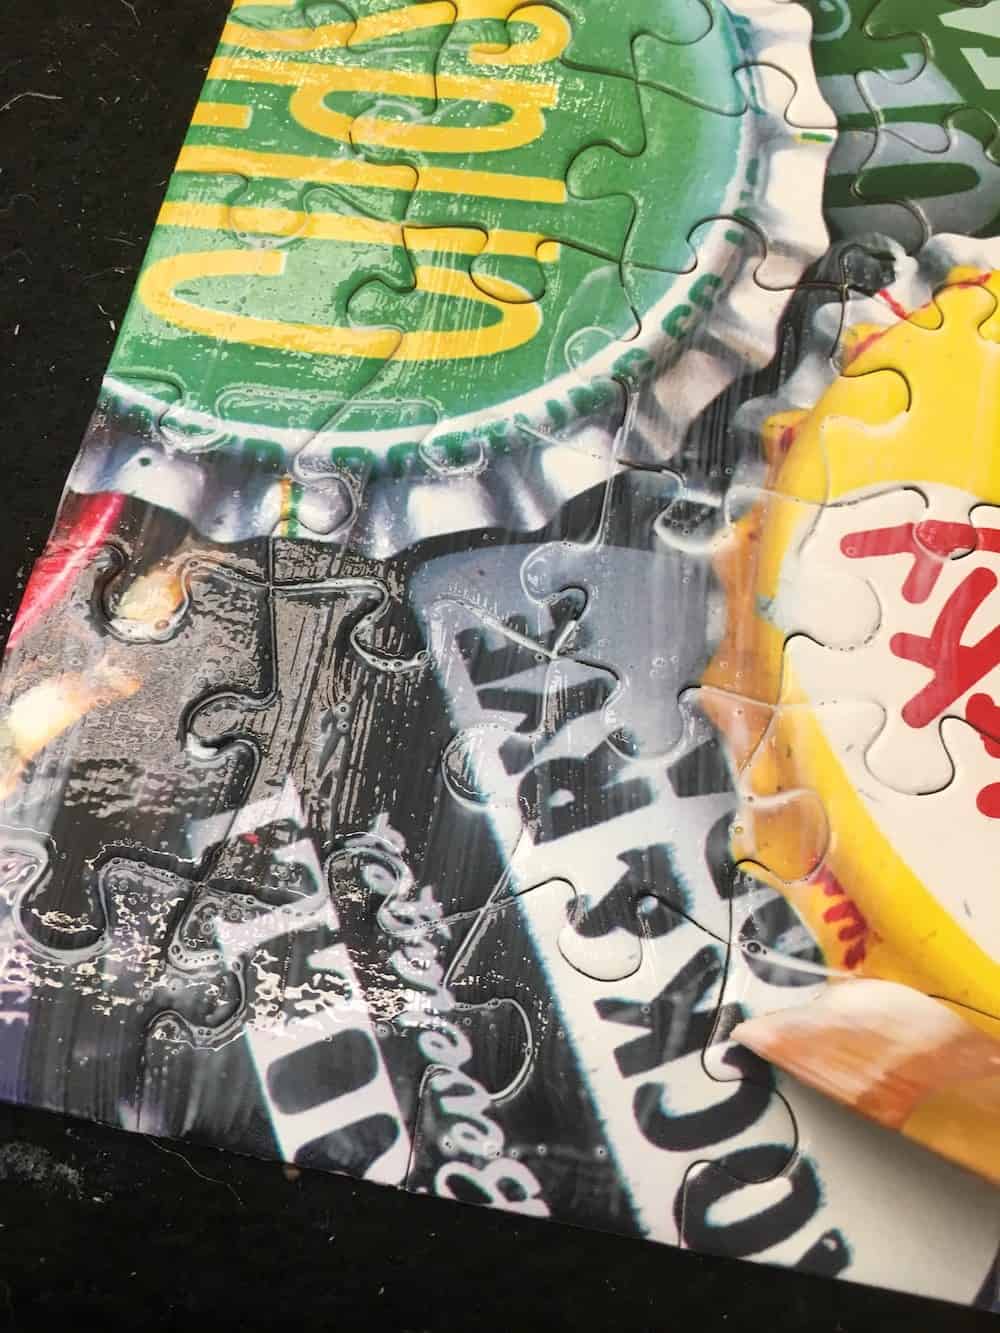

So for my first layer of Mod Podge Puzzle Saver, I do a VERY light layer on top of the puzzle. My goal is to get the pieces secure so that I can move the puzzle safely off of the mat without messing it up. I let it dry for about 15 – 20 minutes.


Once the glue dries, I move it off of the mat onto a surface. If I see any excess that got on my mat, I wipe away . . . or just let it dry. There might be a few dots, but because my first layer of puzzle glue was so light, it’s never that much.
Once you’ve got it onto a better surface, coat with a medium layer of Mod Podge Puzzle Saver. Let dry.
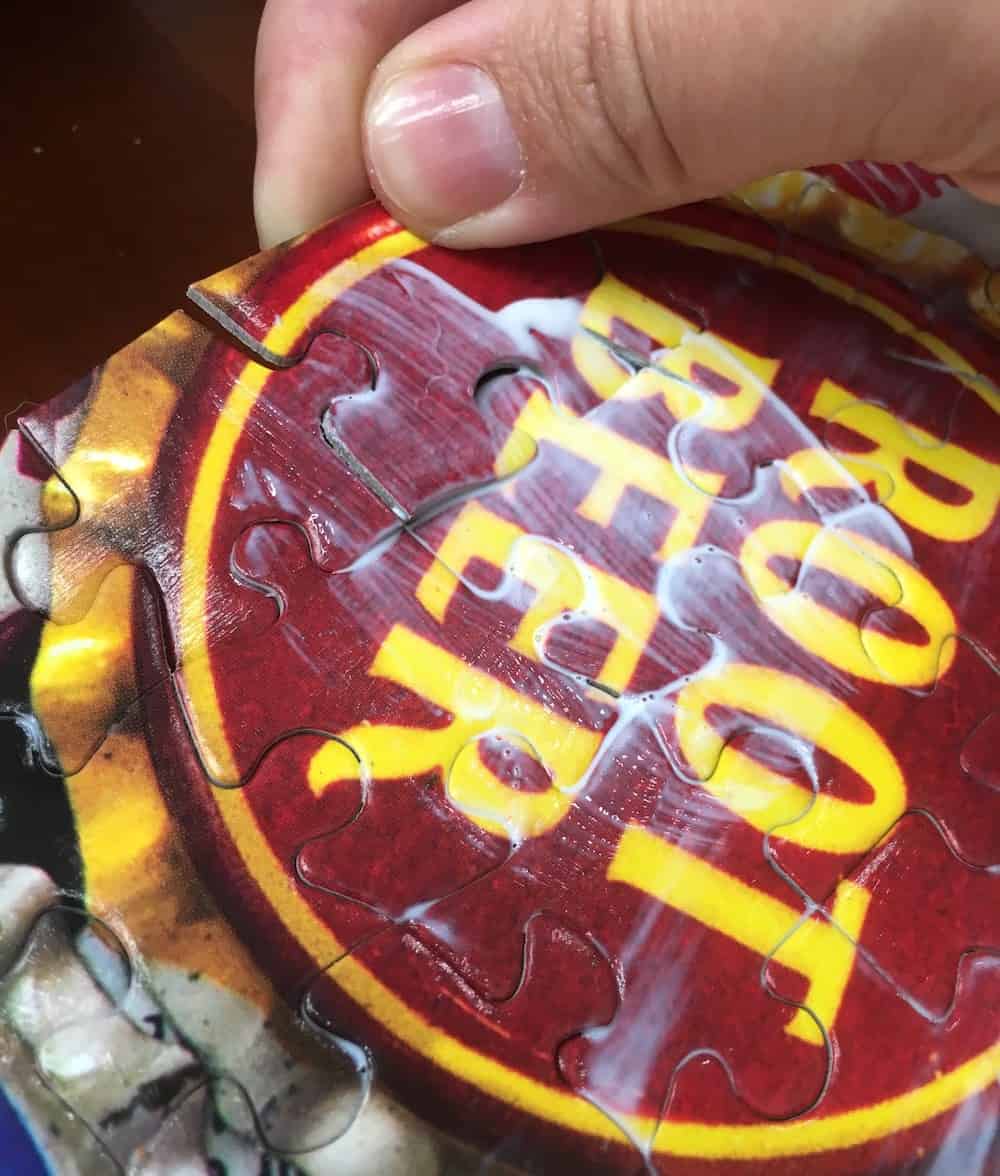

You might have a few pieces that are loose that you didn’t get. You might need to give the edges of the puzzle a little extra too.
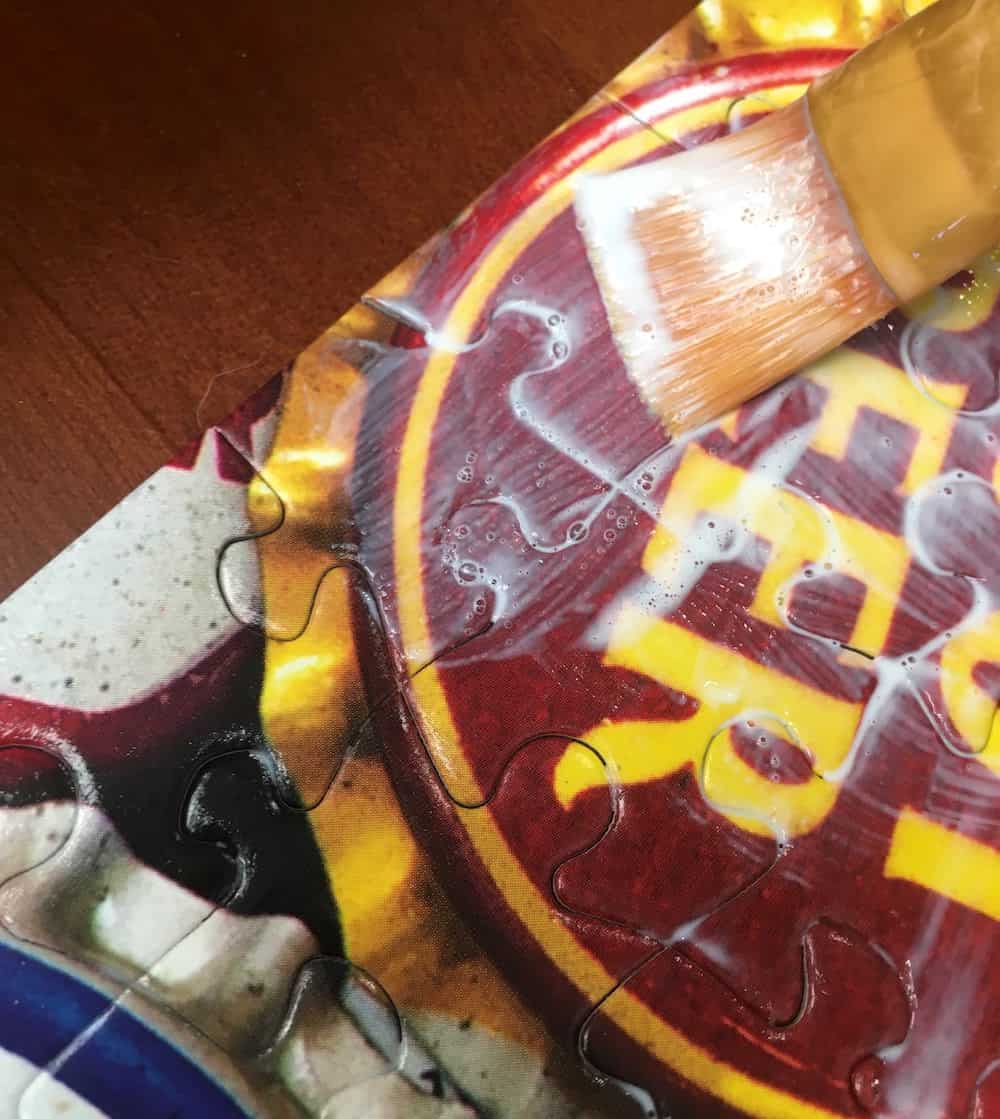

Simply secure everything into place with more puzzle glue.


Once your glued puzzle is done and dry, you can place it in a frame or otherwise display it any way you like! You can pick up the puzzle easily when it’s glued and move it – the pieces are secure.
Optional: the Mod Podge Puzzle Saver – depending on the brush you use – might have some brush strokes in it. To minimize, use a piece of #0000 steel wool over the top. It really helps!
Now that you know how to glue a puzzle, would you try it? Let me know your process and tips in the comments!


How to Glue a Puzzle
Learn how to glue a puzzle with puzzle glue! My favorite is Mod Podge Puzzle Saver. I'll show you my process for preserving your puzzles permanently.
Materials
- Finished puzzle
- Mod Podge Puzzle Saver
- Wax paper
Tools
- Paintbrush
- #0000 steel wool (optional)
Instructions
- Your first step is to transport your puzzle to an area where you know your work surface is safe. This means you might want to start by doing your puzzle on wax paper in the first place.
- Apply a medium layer of Mod Podge Puzzle Saver, being sure to get all of the corners. Let dry.
- Look for any loose pieces and secure them with more glue. Let dry.
- Give the entire puzzle one more coat of Puzzle Saver. Let dry for 24 hours before hanging.
Oh, and if you’d like to learn how to make a puzzle of your very own – check out our photo puzzle tutorial! It’s really easy.

The post How to Use Puzzle Glue: Mod Podge Puzzle Saver appeared first on Mod Podge Rocks.