 I have a TON of scrap pieces of wood in my shed I save from projects. You never know what other scrap wood projects you can do with it. I’ve been working on redecorating my kitchen and one of the first things I wanted to do was create a coffee bar area. I had everything set up, but I thought it needed a cute DIY Coffee bar Sign.
I grabbed the perfect size wood and got started!
For this project you’re going to need:
Supplies
Getting Started
As you can see I used this wood to test some paint colors out. Obviously, it didn’t work well.  So time to paint over!

Step 1 – Paint Board
I used a pretty dark blue for the background color. When I finally do a kitchen reveal post on my blog, you will see it’s an accent color in the kitchen.
I did a total of two layers and let dry 20 minutes each.

Step 2 – Tape off Sides
I wanted the sides to show the pretty blue color so I added some “handy dandy” washi tape to the edges and taped it off.

Step 3 – Create Your Stencil
I used my “trusty” Silhouette Cameo to cut out my wording for the sign. I found an amazing font that actually matched my coffee cups (Moon Flower).
If you have any questions about cutting with your Silhouette Cameo, please let me know and I will be happy to help!


Step 4 – Add Letters
I transferred my wording on the board making sure to smooth it down. You want to make sure the vinyl sticks to the board good so that any paint won’t bleed through. 
Step 5 – Add Final Coat of Paint
I painted over the whole sign with some white chalk paint. I did a total of two coats and let each coat dry 20 minutes.

Then I decided to lightly brush some gray chalk paint on top. Just to give it an “aged” look.

Step 6 – Pull Letters Off
The fun part!!
After your paint has dried it’s time to pull off the letters and see your work!

Step 7 – Seal with Mod Podge
Finally, I needed to seal my sign. I used some “trusty”Mod Podge Clear Acrylic Sealer. I did a total of 2 coats, letting each one dry an hour. This will work great to keep my sign protected. Aren’t scrap wood projects fun?

Finishing Touches
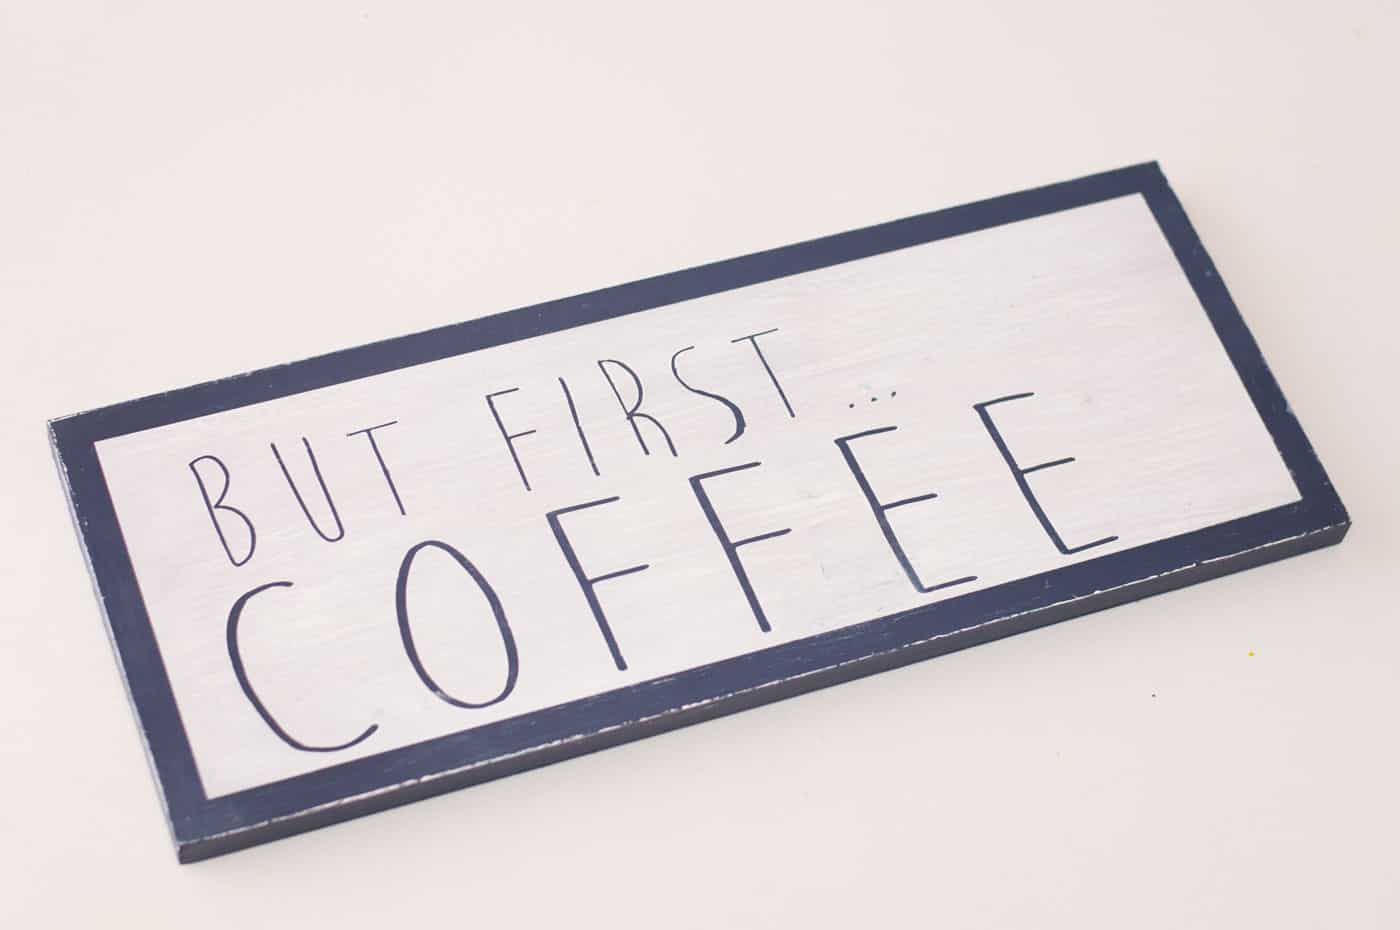
Now I’m ready to display my sign! I think it turned out pretty cute. 
 I plan on hanging it on the wall with some command strips. I use those all the time; I hate putting holes in the wall if I don’t have to. Plus it helps so I don’t have to add hooks on the back of my signs. This was probably one of the fastest signs I have made. I plan on making a couple more for my kitchen soon. Stay tuned!
Let me know your favorite scrap wood projects in the comments!
If you guys want to get even more crafting inspiration, be sure and sign up for my newsletter! It’s the best of what I make.

Wanna’ keep up with all my craftiness, follow me!
Facebook | Pinterest | Google+ | Twitter | Newsletter
The post Scrap wood projects: DIY coffee bar sign... appeared first on Mod Podge Rocks.