This tissue paper frame is perfect for whipping up quickly and adding color to your home. So easy, even a child can do it!
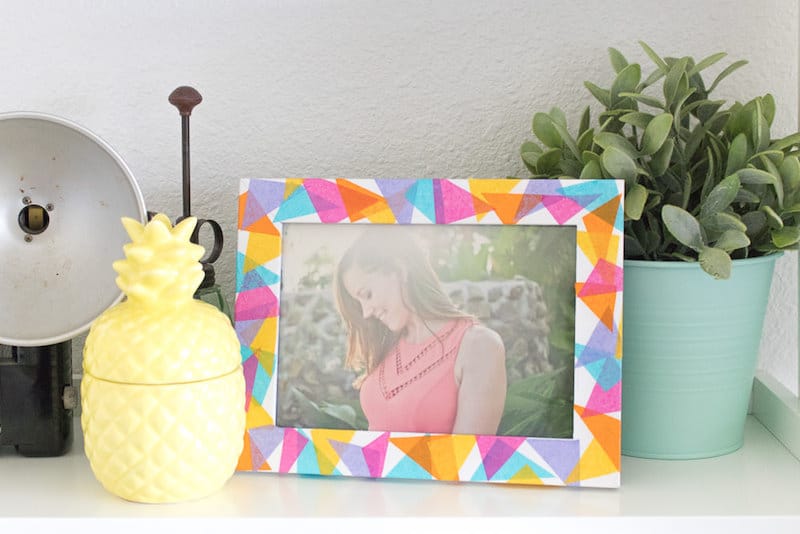
Hi there! This is Holly from Club Crafted again with a really simple decoupage DIY for making a geometric tissue paper frame with small pieces of triangle shaped tissue paper layered together like a collage.
(get more picture frame ideas here!)
This is such an easy project to whip up in order to add some color in your home. Using classic Mod Podge and a variety of colored tissue paper, I made over a very inexpensive frame so that it looks like something new and special.
Now this frame stands out on our shelf and I love the pop of color is adds to our neutral-colored office.
DIY Tissue Paper Frame
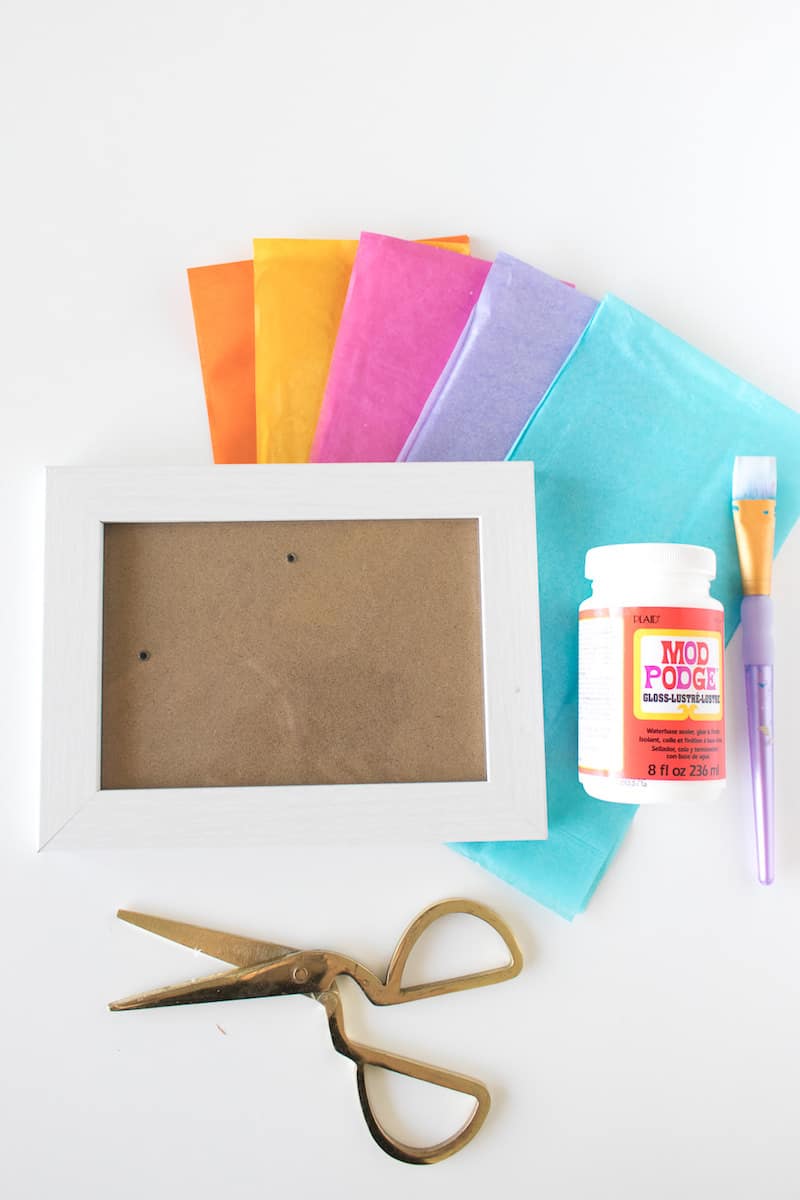
Gather These Supplies:
- Plain photo frame
- Variety of colors of tissue paper
- Scissors
- Mod Podge Gloss
- Paintbrush
Step 1: Remove the backing and glass of the frame so that you have only the wood (or plastic or metal) portion.
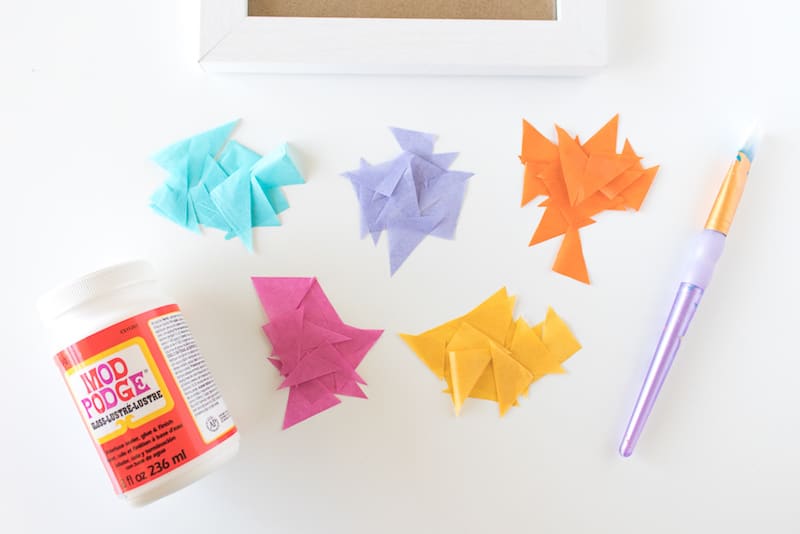
Step 2: Cut the colored tissue paper into small triangles. I found that the easiest way to do this quickly is to cut strips of tissue paper about 1.5 inch wide and then trim multiple triangles out of them, so they all appear to be slightly different proportions but still the same size. It doesn’t have to be perfect!
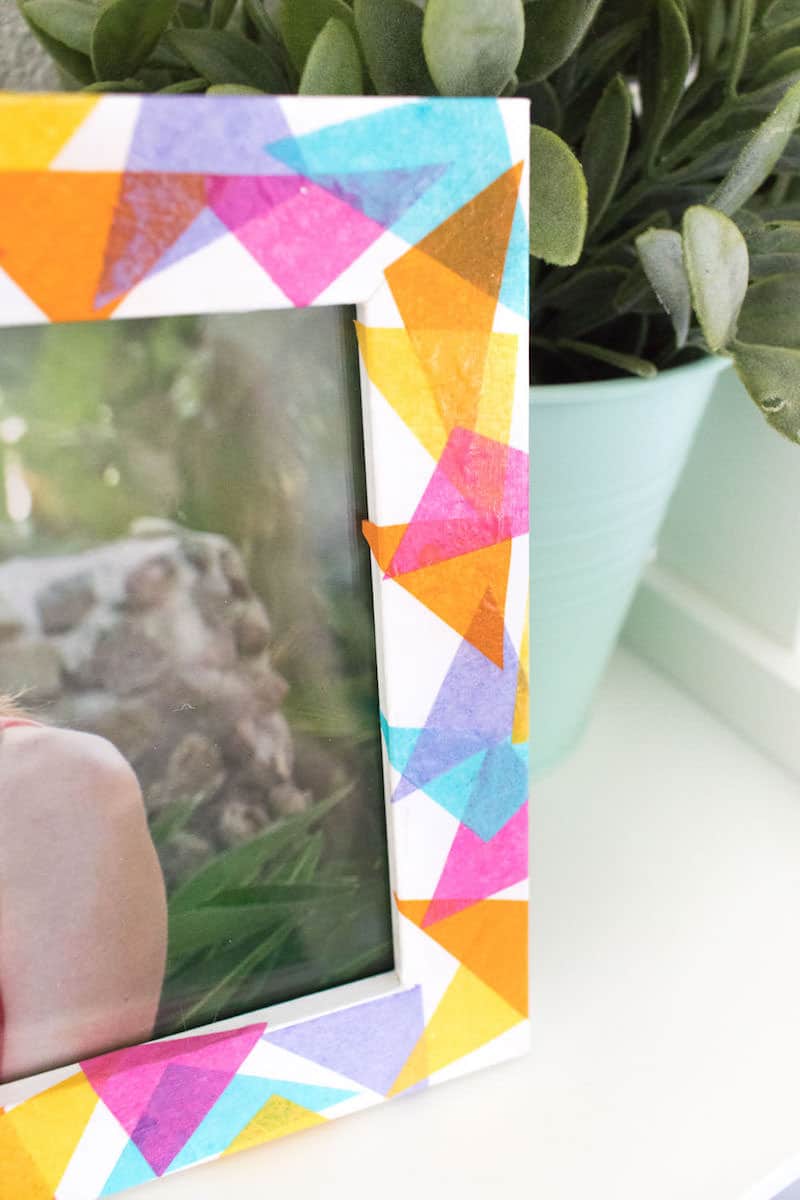
Step 3: Paint a layer of Mod Podge Gloss on one section of the frame, starting at a corner. Place a cut piece of tissue paper over it and press in place.
Repeat with more pieces, layering on top of each other slightly and covering edges as well as the front of the frame. It’s OK to have lots of the original frame showing or completely cover it – your choice!

Step 4: Repeat this process all the way around the frame, painting Mod Podge on one section at a time so that the glue does not dry before you complete it.
Step 5: Once the pattern complete, paint a layer of Mod Podge over the entire frame to seal the tissue paper and let dry.

Once dry, you can pop the glass, a photo and the backing in place and display in your home. This would also make a cute gift if you want to give someone a photo inside of a homemade frame!
Are you wondering what else you can do with cheap wood picture frames? Just click on the image below to get tons of ideas!

The post Colorful Geometric Frame Using Tissue Pa... appeared first on Mod Podge Rocks.